
ImGui 활용한 DirectX 11 3D를 이용한 2D를 만드는 내용입니다.
본 내용은 똑같이 사용할 수 없음을 알립니다. (참고 및 공부자료로 만들어진 내용임을 밝힙니다.)
전 과정에 대해 이해를 해야 다음 이 부분에 대한 이해를 할 수 있음을 밝힙니다
이전 자료) https://ppatabox.tistory.com/57
21.12.06(월)
다룰 내용 : world. View. Roatation
지난 시간 다룬 내용에 대해서
수정내용에 대해서만 다루 겠음

Character.cpp/h | Monster.cpp/h 삭제
Texture.h
#pragma once
class Texture
{
public:
struct Vertex
{
Vector3 Position;
Vector2 Uv;
Color4 Color;
};
public:
static Texture* Make
(
wstring fileName,
Vector2 cutStart = Vector2(0, 0),
Vector2 cutSize = Vector2(0, 0),
Color4 color = Color4(1, 1, 1, 1)
);
private:
static void CreateBuffer();
private:
static map<wstring, ID3D11ShaderResourceView*> textureMap;
static vector<Texture *> textures;
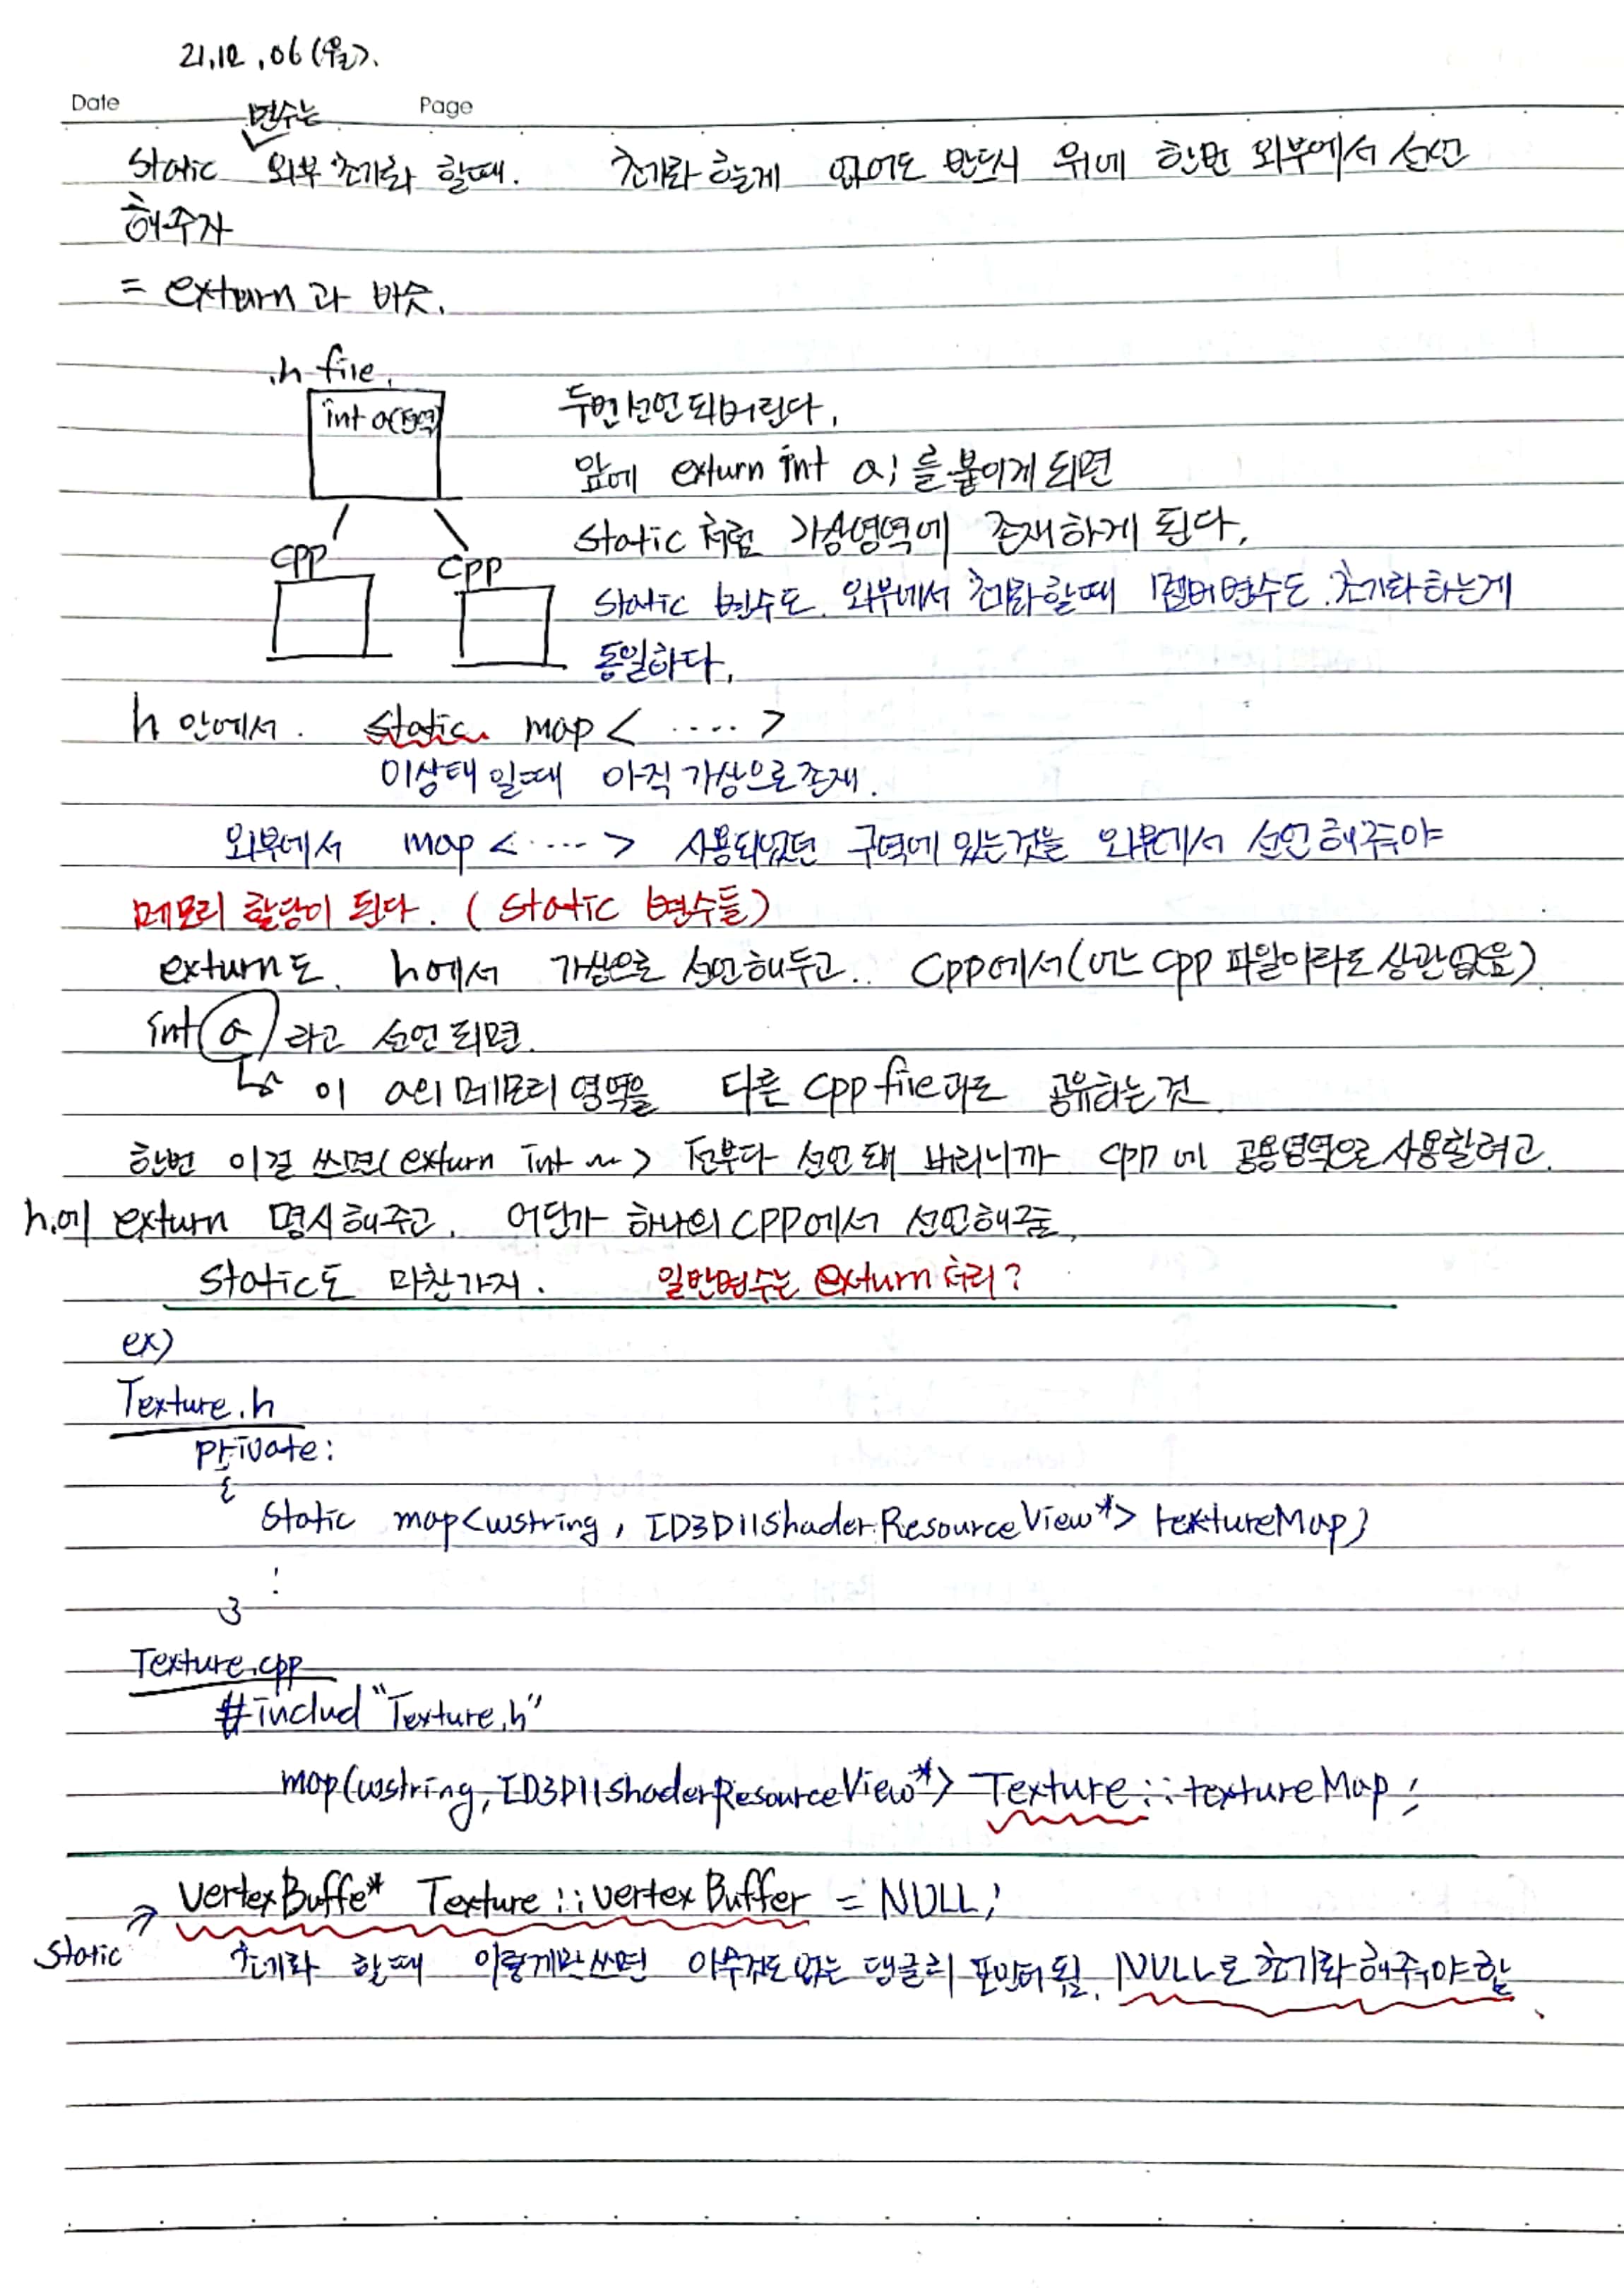
static VertexBuffer* vertexBuffer; //외부에서 초기화 해야함 static
public:
Texture(ID3D11ShaderResourceView* srv, Vector2 cutStart, Vector2 cutEnd, Color4 color);
~Texture();
void Render();
private:
ID3D11ShaderResourceView* srv;
Vector2 textureSize;
Vector2 cutStart;
Vector2 cutEnd;
Vector2 uvStart;
Vector2 uvEnd;
Color4 color;
};
Texture.cpp
#include "stdafx.h"
#include "Texture.h"
//static 초기화
map<wstring, ID3D11ShaderResourceView*> Texture::textureMap; //외부에서 한번씩 선언해줘야함 exturn도 비슷함
vector<Texture *>Texture::textures;
VertexBuffer* Texture::vertexBuffer = NULL;
Texture * Texture::Make(wstring fileName, Vector2 cutStart, Vector2 cutSize, Color4 color)
{
HRESULT hr;
ID3D11ShaderResourceView* srv;
if (textureMap.count(fileName) < 1)
{
wstring fullPath = L"../_Textures/" + fileName;
D3DX11CreateShaderResourceViewFromFile
(
Device,
fullPath.c_str(),
NULL,
NULL,
&srv,
&hr
);
assert(SUCCEEDED(hr));
textureMap.insert(pair<wstring, ID3D11ShaderResourceView*>(fileName, srv));
}
srv = textureMap[fileName];
Vector2 cutEnd;
cutEnd.x = cutStart.x + cutSize.x;
cutEnd.y = cutStart.y + cutSize.y;
Texture* texture = new Texture(srv, cutStart, cutEnd, color);
textures.push_back(texture);
CreateBuffer();
return nullptr;
}
void Texture::CreateBuffer()
{
SAFE_DELETE(vertexBuffer);
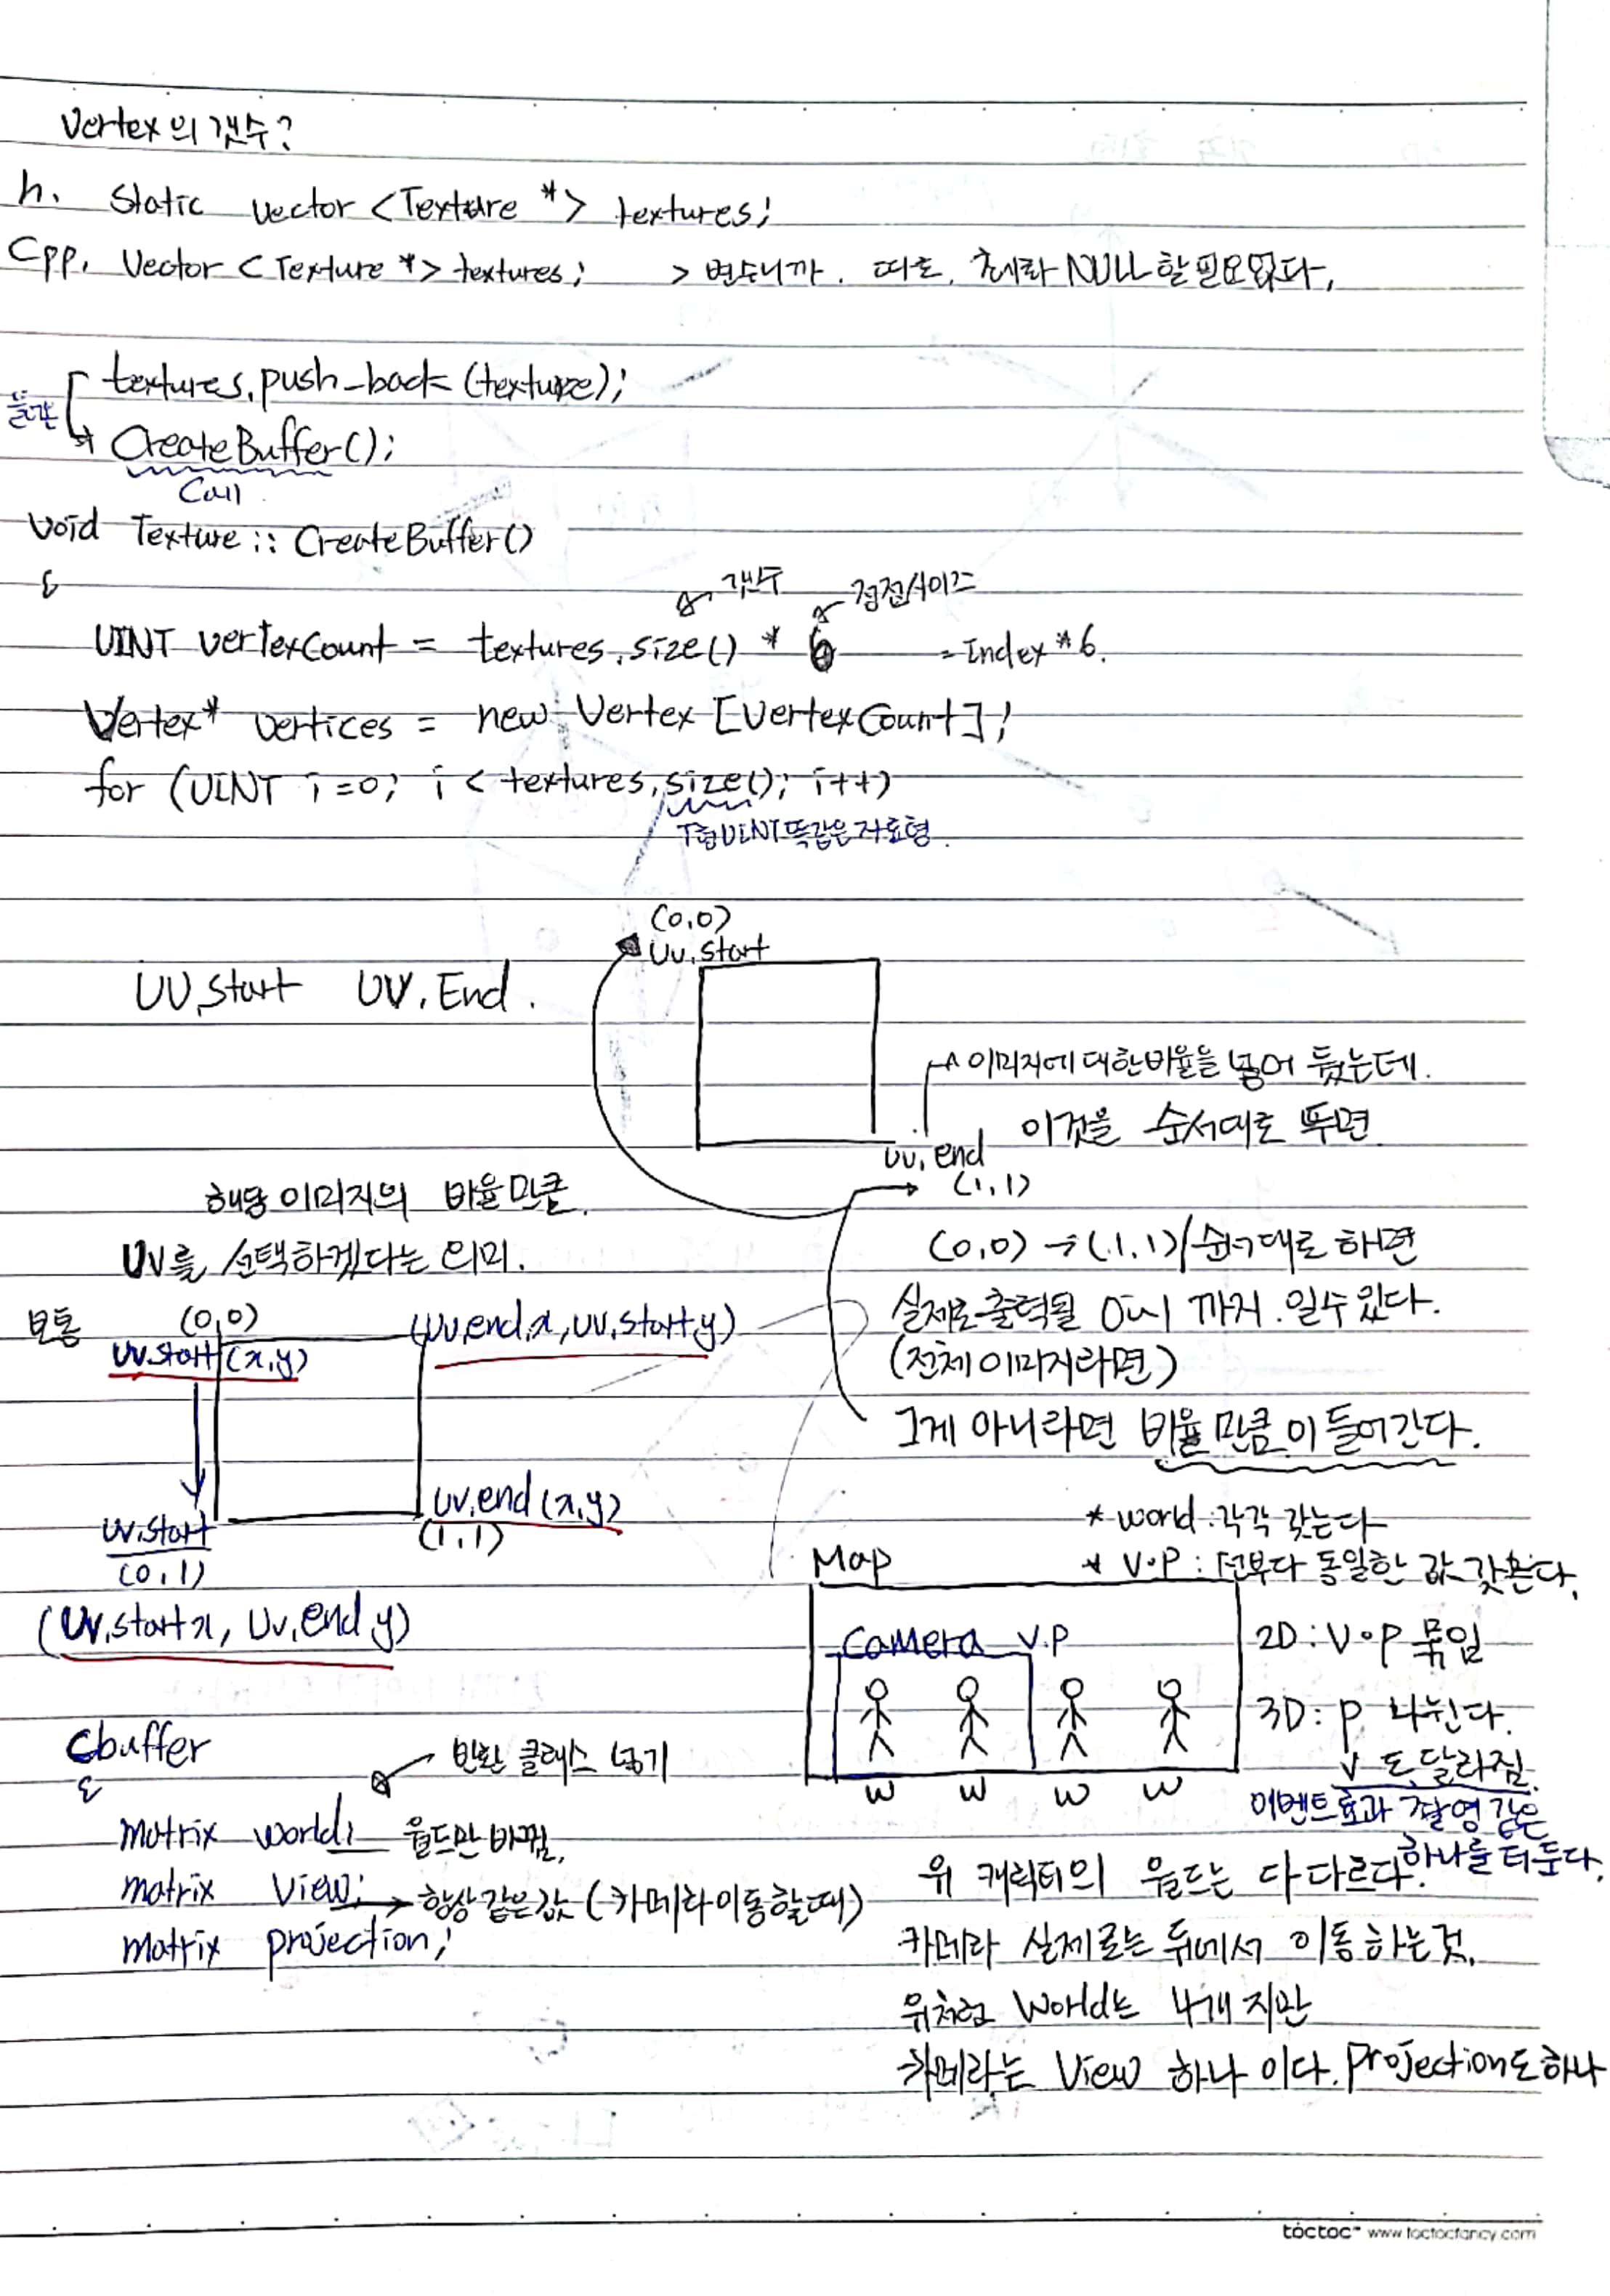
UINT vertexCount = textures.size() * 6; // 정점 사이즈 6 IndexBuffer없음
Vertex* vertices = new Vertex[vertexCount];
//각 정점에 대한 계산
for (UINT i = 0; i < textures.size(); i++)
{
Vector2 start = textures[i]->uvStart;
Vector2 end = textures[i]->uvEnd;
//IndexBuffer 없어서 6개로 늘림
vertices[i * 4 + 0].Position = Vector3(-0.5f, -0.5f, 0.0f); //0 /-0.5
vertices[i * 4 + 1].Position = Vector3(-0.5f, +0.5f, 0.0f);
vertices[i * 4 + 2].Position = Vector3(+0.5f, -0.5f, 0.0f);
vertices[i * 4 + 3].Position = Vector3(+0.5f, -0.5f, 0.0f);
vertices[i * 4 + 4].Position = Vector3(-0.5f, +0.5f, 0.0f);
vertices[i * 4 + 5].Position = Vector3(+0.5f, +0.5f, 0.0f);
vertices[i * 4 + 0].Uv = Vector2(start.x, start.y); //시작
vertices[i * 4 + 1].Uv = Vector2(start.x, end.y); //밑으로
vertices[i * 4 + 2].Uv = Vector2(end.x, end.y); //오른쪽 아래
vertices[i * 4 + 3].Uv = Vector2(end.x, end.y); //
vertices[i * 4 + 4].Uv = Vector2(start.x, end.y);
vertices[i * 4 + 5].Uv = Vector2(end.x, start.y);//오른쪽 위
//컬러
vertices[i * 4 + 0].Color = textures[i]->color;
vertices[i * 4 + 1].Color = textures[i]->color;
vertices[i * 4 + 2].Color = textures[i]->color;
vertices[i * 4 + 3].Color = textures[i]->color;
vertices[i * 4 + 4].Color = textures[i]->color;
vertices[i * 4 + 5].Color = textures[i]->color;
}
vertexBuffer = new VertexBuffer(vertices, vertexCount, sizeof(Vertex)); //복사일어남vertices줄어도 됨
SAFE_DELETE_ARRAY(vertices);//복사가 일어나서 필요없음
}
//리턴 받아서 쓸 값들
Texture::Texture(ID3D11ShaderResourceView * srv, Vector2 cutStart, Vector2 cutEnd, Color4 color)
: srv(srv), color(color)
{
ID3D11Texture2D* texture;
srv->GetResource((ID3D11Resource **)&texture);
D3D11_TEXTURE2D_DESC textureDesc;
texture->GetDesc(&textureDesc);
textureSize = Vector2(textureDesc.Width, textureDesc.Height);
uvStart.x = (cutStart.x > 0) ? cutStart.x / textureSize.x : 0; //실제로 들어갈 것
uvStart.y = (cutStart.y > 0) ? cutStart.y / textureSize.y : 0;
uvEnd.x = (cutEnd.x > 0) ? cutEnd.x / textureSize.x : 1;
uvEnd.y = (cutEnd.y > 0) ? cutEnd.y / textureSize.y : 1;
this->cutStart = cutStart;
this->cutEnd.x = (cutEnd.x < 1) ? textureSize.x : cutEnd.x;
this->cutEnd.y = (cutEnd.y < 1) ? textureSize.y : cutEnd.y;
}
Texture::~Texture()
{
SAFE_RELEASE(srv);
}
void Texture::Render()
{
vertexBuffer->Render();
}
Animation.h
#pragma once

struct FAnimation
{
	Texture* texture;
	float time;

	FAnimation()
	{
		texture = NULL;
		time = 0.25f; //1/4초
	}

	FAnimation(Texture* texture, float time = 0.25f) //기본값 0.25
	{
		this->texture = texture;
		this->time = time;
	}
};

class Animation
{
public:
	Animation();
	~Animation();

	void Initialize(vector<FAnimation> animations);

	void Play(UINT frame = 0);
	void Pause();
	void Stop();

	void Update();
	void Render();

private:
	Vector2 position;
	Vector2 scale;
	Color4 color;

private:
	vector<FAnimation> frames;

private:
	bool bPlaying = false;
	UINT playFrameIndex = 0;
	float playTime = 0.0f;
};
Animation.cpp
#include "stdafx.h"
#include "Animation.h"

Animation::Animation()
{

}

Animation::~Animation()
{
	for (FAnimation& frame : frames)
		SAFE_DELETE(frame.texture);
}

void Animation::Initialize(vector<FAnimation> animations)
{
	frames = animations;
}

void Animation::Play(UINT frame)
{
	bPlaying = true;

	playFrameIndex = frame;
	playTime = Time->Running();
}

void Animation::Pause()
{
	bPlaying = false;
}

void Animation::Stop()
{
	bPlaying = false;
	playFrameIndex = 0;
}

void Animation::Update()
{
	FAnimation& frame = frames[playFrameIndex];

	if (Time->Running() - playTime >= frame.time)
	{
		playFrameIndex++;

		if (playFrameIndex >= frames.size())
			playFrameIndex = 0;

		playTime = Time->Running();
	}
}

void Animation::Render()
{
	frames[playFrameIndex].texture->Render();
}
2D : view .projection 이 묶이는 반면에
3D : view 따로 Projection따로 나뉜다.
3D에서 View는 이벤트 장면인 보스몹이 나타날때 갑자기 화면 전환 되면서 보여주는 장면 중에
카메라가 하나더 배치되어 보여주는 방식
2D에서도 있긴하다.
마리오가 어느지점가면 보스몹이 나올때 연출 나올때
프로젝션 이 바뀔일이 없다
무조건 직교투영을 써서
3D 에서는 필요에 따라서 직교를 쓰기도 한다.
일반적으로 원근 투영을 쓰다가
UI 는 직교투영 상황에 따라 바뀐다.
View ; projection만 따로 같이 둘 것 임
World를 관리하는 것 만들어주기
World.h
#pragma once


class Wolrd
{

public:
	Wolrd(); //필요하지 않아도 생성자
	~Wolrd(); //소멸자는 만들어주기

	//위치
	void Position(float x, float y);
	void Position(D3DXVECTOR2 vec);
	void Position(D3DXVECTOR2* vec);

	//크기
	void Scale(float x, float y);
	void Scale(D3DXVECTOR2 vec);
	void Scale(D3DXVECTOR2* vec);

	//회전 2D이니까 z축
	void Rotation(float z);
	void Rotation(float* z);

	//위치 계산은 업데이트에서 하지만 최종적으로 렌더에서 한꺼번에 처리
	void Render();

private://constantbuffer를 만들 구조체
	struct WorldDesc
	{
		Matrix World; //월드 밀어주기

	} desc;
private:

	ConstantBuffer* buffer;

	Vector2 position;
	Vector2 scale;
	float rotation; //z축회전
};
World.cpp
#include "stdafx.h"
#include "World.h"

Wolrd::Wolrd()
{
	buffer = new ConstantBuffer(&desc, sizeof(WorldDesc)); //월드가 만들어지면 먼저 buffer부터
}

Wolrd::~Wolrd()
{
	SAFE_DELETE(buffer); //소멸자에서 지워버리기
}

void Wolrd::Render()
{
	//SRT계산
	Matrix S, R, T; //변수 3개 선언
	D3DXMatrixScaling(&S, scale.x, scale.y, 1); //z크기는 1"
	D3DXMatrixRotationZ(&R, rotation);
	D3DXMatrixTranslation(&T, position.x, position.y, 0);


	buffer->Render();
}
참고 할만한 링크)
3차원 회전 행렬 구하기 by 오일러각 Input
고등학생때 2차원 회전 행렬을 응용해서 풀어야 했던 문제가 있었던게 어렴풋이 기억이 난다. 2차원 회전 행렬은 특정 각만큼 회전시켰을때 기존 좌표를 삼각함수로 연산하여 회전된 좌표를 구
cynthis-programming-life.tistory.com
[DirectX] 변환 / 변환행렬
변환 행렬 이동변환 이동변환은 점 p = ( p(x), p(y), p(z) )를 ( t(x), t(y), t(z) )만큼 이동하는 변환이다. 즉 점 p가 p' = ( p(x) + t(x) , p(y) + t(y) , p(z) + t(z) )로 변환된다. 이 변환에 대한 행렬을..
rockdrumy.tistory.com
다음시간)
'🅿🆁🅾🅶🆁🅰🅼🅼🅸🅽🅶 > DɪʀᴇᴄᴛX 2D' 카테고리의 다른 글
| [C++] DirectX set/unordered-set /texture (0) | 2021.12.05 |
|---|---|
| [C++] DirectX_Animation 2부/ static 함수/변수 (0) | 2021.12.03 |
| [C++]DriectX Inheritance_상속 그 안의 속성(커플링) (0) | 2021.12.02 |
